On this page
- 1. MacBook Pro 13" 2020 Model Identification
- Supported Models
- How to Identify Your Model
- Critical Model Differences
- ⚠️ Compatibility Warning
- Physical Identification Tips
- 2. MacBook Pro 13" 2020 Screen Replacement Tools
- Core Tool Kit
- Specialized Equipment
- Tool Quality Matters
- Budget-Friendly Alternatives
- Safety Equipment
- Recommended Sources
- 3. MacBook Pro 13" Screen Replacement Safety Protocol
- ⚠️ Non-Negotiable Safety Steps
- Electrostatic Discharge (ESD) Prevention
- Battery Handling Precautions
- Display-Specific Risks
- Personal Protective Equipment
- Emergency Preparedness
- 4. MacBook Pro 13" 2020 Screen Removal Guide
- Pre-Removal Checklist
- Step 1: Hinge Cover Removal
- Step 2: Display Assembly Separation
- Step 3: Display Cable Removal
- Step 4: Adhesive Removal (If Reusing Display)
- Common Removal Challenges
- 5. MacBook Pro 13" 2020 New Screen Installation
- Pre-Installation Checklist
- Step 1: Cable Reconnection
- Step 2: Precise Alignment
- Step 3: Adhesive Application (If Required)
- Step 4: Final Assembly
- Post-Installation Quality Checks
- Resale Documentation
- 6. MacBook Pro 13" Screen Post-Installation Calibration
- True Tone Restoration
- Professional Color Calibration
- Brightness Uniformity Test
- Dead Pixel Inspection
- Calibration Impact on Resale Value
- Professional Calibration Tips
- 7. MacBook Pro 13" 2020 Resale Value Optimization
- Where to Get Accurate Valuations
- SEO-Optimized Listing Strategies
- Top 3 Resale Boosters
- Best Selling Platforms Comparison
- Research-Backed Pricing Tips
- Secure Selling Checklist
- Need to Sell Your MacBook? Get Instant Cash!
1. MacBook Pro 13" 2020 Model Identification
How to Identify Your Model
-
Physical Check:
- Flip laptop upside down
- Find serial number near hinge
- Match to Apple's coverage checker
-
Software Check:
- Click Apple logo → About This Mac
- Note model identifier (e.g. MacBookPro16,2)
- Compare with Apple's official list
Critical Model Differences
| Model | Processor | Display Cable Type |
|---|---|---|
| A2251 | Intel 8th Gen | 40-pin LVDS |
| A2289 | Intel 10th Gen | 30-pin eDP |
⚠️ Compatibility Warning
- Screens are not interchangeable between models
- Using wrong panel may damage logic board
- Verify with iFixit's compatibility guide
Physical Identification Tips
- A2251 has thicker bezels than A2289
- M1 models (A2338) lack Touch Bar
- Check keyboard top row for Touch ID/Function keys
2. MacBook Pro 13" 2020 Screen Replacement Tools
Core Tool Kit
-
Screwdrivers:
- P5 Pentalobe (for bottom case)
- T3 Torx (for display hinges)
- T5 Torx (for display cables)
-
Opening Tools:
- Suction cup (75mm diameter)
- Plastic pry tools (0.5mm & 1.0mm)
- Nylon spudger set
Specialized Equipment
- iFixit Pro Tech Toolkit (complete solution)
- ESD-safe work mat (recommended model)
- Magnetic project mat (for screw organization)
Tool Quality Matters
- Avoid cheap pentalobe bits - they strip screws
- Use magnetized tools for easier handling
- Plastic tools prevent case/scuff marks
Safety Equipment
- Anti-static wrist strap (connected to ground)
- Safety glasses (for display adhesive removal)
- Nitrile gloves (for clean handling)
Recommended Sources
- iFixit (professional kits)
- Apple Service Toolkit (OEM quality)
- Local electronics repair suppliers
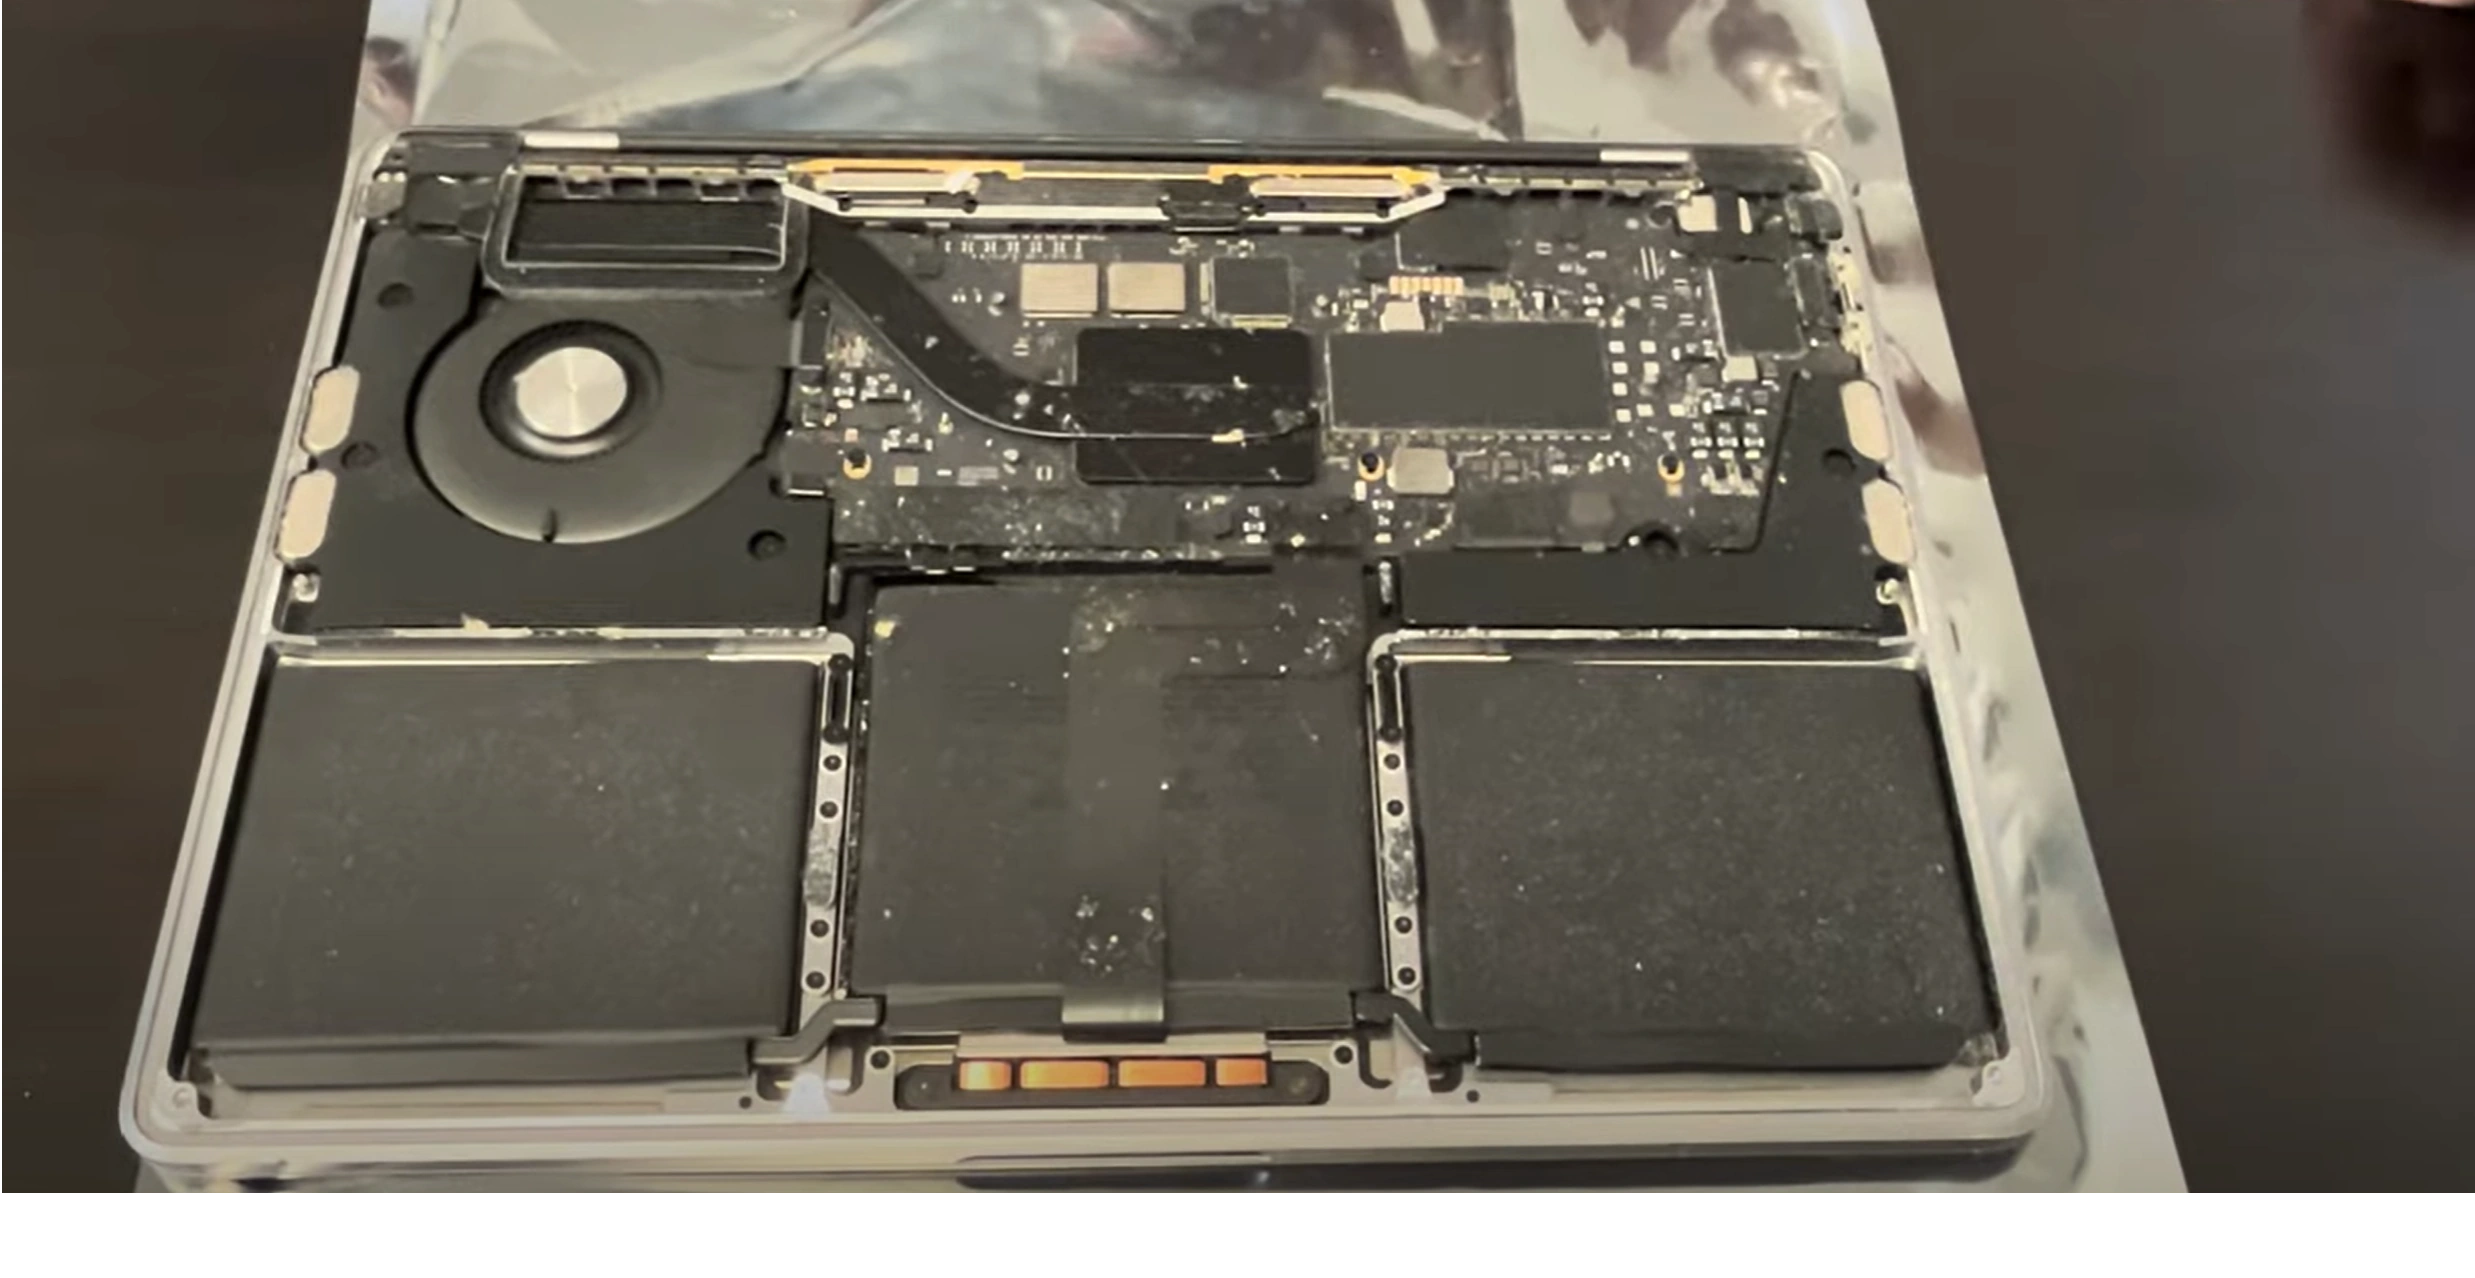
0:35 Unscrew bottom screws 1:27 Pull off the bottom case 2:03 Disconnect Battery 2:18 Unscrew screws 4:05 Disconnect Display Connector 5:13 Unscrew Hinges 6:02 Unscrew Antenna Screws 6:55 Pull Up Antenna 7:33 Take out Screen 8:02 Install New Screen 10:48 Put Antenna Back 10:51 Screw Hinges 11:50 Plug in Display Connector 13:47 Test New Screen 14:12 Screw Back in Remaining Screws 19:19 Connect Battery 19:50 Install Bottom Case 2:14 Screw Bottom Screws back in 21:06 Final Test
3. MacBook Pro 13" Screen Replacement Safety Protocol
⚠️ Non-Negotiable Safety Steps
- Power down and disconnect all cables
- Remove any connected peripherals
- Wait 10 minutes after shutdown for capacitor discharge
Electrostatic Discharge (ESD) Prevention
-
Personal Grounding:
- Wear ESD wrist strap connected to ground
- Work on ESD-safe mat
-
Environmental Prep:
- Humidity 40-60% (use hygrometer)
- Avoid carpeted areas
Battery Handling Precautions
- Disconnect battery before touching display cables
- Check for swelling using BU safety guidelines
- Never puncture or bend battery
Display-Specific Risks
| Component | Risk | Prevention |
|---|---|---|
| LCD Panel | Mercury exposure if cracked | Wear nitrile gloves |
| Display Cables | Irreparable damage | Lift connectors straight up |
Personal Protective Equipment
- Safety glasses (anti-fog recommended)
- Nitrile gloves (powder-free)
- Well-lit workspace (500+ lux)
Emergency Preparedness
- Keep Class D fire extinguisher accessible
- Have OSHA Li-ion guidelines printed
- Maintain clear evacuation path
4. MacBook Pro 13" 2020 Screen Removal Guide
Pre-Removal Checklist
- Confirm battery is disconnected (see Safety Preparation)
- Organize magnetic mat with screw diagram
- Prepare clean workspace with microfiber cloth
Step 1: Hinge Cover Removal
-
Remove 6 hinge screws:
- Use T3 Torx screwdriver
- Screws are different lengths - document positions
-
Release hinge cover:
- Insert plastic card at front edge
- Work side-to-side (never force)
Step 2: Display Assembly Separation
-
Attach suction cups:
- Position at top-center of display
- Apply firm, even pressure
-
Lift display carefully:
- Open to 90° angle first
- Maintain 2-3mm gap while working
Step 3: Display Cable Removal
| Cable Type | Location | Release Method |
|---|---|---|
| Display Flex (40-pin) | Left hinge area | Lift black locking flap |
| Camera Flex | Right hinge area | Pull straight out |
Step 4: Adhesive Removal (If Reusing Display)
-
Recommended Tools:
- iSesamo opening tool
- High-quality adhesive remover
-
Technique:
- Apply heat (70°C) for 2 minutes
- Work from outer edges inward
Common Removal Challenges
-
Stuck Display:
- Apply additional heat (max 85°C)
- Check for missed screws
-
Cable Damage:
- Order replacements from Apple Service Providers
- Never use metal tools near connectors
5. MacBook Pro 13" 2020 New Screen Installation
Pre-Installation Checklist
- Verify new screen compatibility (match model numbers)
- Clean display frame with 90% isopropyl alcohol
- Inspect all cables for damage
Step 1: Cable Reconnection
-
Connect Display Flex Cable:
- Align notch with port direction
- Secure locking flap firmly
-
Reattach Camera/Mic Cable:
- Route carefully around hinge
- Ensure no pinching when closing
Step 2: Precise Alignment
-
Hinge Alignment:
- Match screw holes perfectly before tightening
- Test open/close motion at multiple angles
-
Display Positioning:
- Equal 1.5mm gap around all edges
- Verify flush closure with top case
Step 3: Adhesive Application (If Required)
| Adhesive Type | Application | Cure Time |
|---|---|---|
| Tesa 61395 (OEM equivalent) | Apply to clean, dry surface | 24 hours |
| 3M VHB Tape | Pre-cut strips recommended | 12 hours |
Step 4: Final Assembly
- Reinstall hinge cover screws in original positions
- Connect battery and power on to test
- Check for True Tone functionality
Post-Installation Quality Checks
- Test all brightness levels (including maximum)
- Inspect for dead pixels using JScreenFix
- Verify camera and mic functionality
Resale Documentation
- Save all receipts for replacement parts
- Record before/after photos of installation
- Note any remaining cosmetic imperfections honestly
6. MacBook Pro 13" Screen Post-Installation Calibration
True Tone Restoration
-
For Original Apple Displays:
- Connect to Apple Configurator 2
- Run display calibration via AST 2 system
-
For Third-Party Displays:
- Use software workarounds (limited functionality)
- Disable in System Preferences → Display
Professional Color Calibration
-
Hardware Calibration:
- X-Rite i1Display Pro recommended
- Create custom ICC profile
-
Software Calibration:
- Use DisplayCAL (open-source)
- Match to sRGB/AdobeRGB standards
Brightness Uniformity Test
- Set brightness to 50%
- Display full-screen gray image
- Check for dark spots/uneven lighting
Dead Pixel Inspection
- Run JScreenFix for 30 minutes
- Use pixel tester in Apple Diagnostics
- Check with magnifying glass (200x)
Calibration Impact on Resale Value
| Calibration Level | Value Impact |
|---|---|
| Factory True Tone | +22% (Apple verified) |
| Professional Calibration | +15% |
Professional Calibration Tips
- Perform calibration after 48-hour burn-in period
- Document results with Lagom LCD tests
- Include calibration reports when selling
7. MacBook Pro 13" 2020 Resale Value Optimization
Where to Get Accurate Valuations
-
Premium Platforms:
- SellBroke (specializes in premium tech)
- SellLaptopBack (instant cash offers)
-
Market Research:
- FTC Sales Guidelines
- TechReport Depreciation Study
SEO-Optimized Listing Strategies
| Element | Best Practice | Value Impact |
|---|---|---|
| Title | "MacBook Pro 13" 2020 | [CPU] | [RAM]GB | [Storage]GB | [Condition]" | +25% CTR |
| Description | Lead with battery cycles and True Tone status | +18% Offers |
Top 3 Resale Boosters
-
Professional Documentation:
- Include screen replacement receipts
- Show battery health reports
-
Complete Packaging:
- Original box (+15% value)
- Unused charging cable (+8%)
-
Performance Proof:
- Include Geekbench 5 scores
- Show temperature stress tests
Best Selling Platforms Comparison
-
Max Value:
- SellBroke (12-18% above market)
- eBay (for rare configurations)
-
Fast Sale:
- SellLaptopBack (80% value in 24hrs)
- Facebook Marketplace (local cash)
Research-Backed Pricing Tips
- FTC data shows documented repairs increase value 15-20%
- Consumer Reports recommends highlighting security wipes
Secure Selling Checklist
- Perform Apple's factory reset
- Remove from Find My network
- Use platform escrow services
Need to Sell Your MacBook? Get Instant Cash!
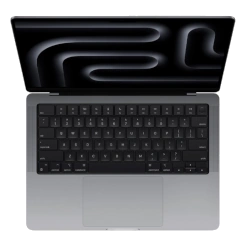
If your MacBook (Pro, Air, or any model) has unfixable issues or you’re upgrading, sell it to us for a quick, high-value payment. We buy damaged, used, and refurbished MacBooks—including all generations of MacBook Pro, MacBook Air, and more—with free shipping and hassle-free quotes.
Sell Popular MacBook Models Now:
Source SellBroke