Jul 20, 2025
On this page
- 1. Dell Latitude 7520 Pre-Disassembly Preparation
- ⚠️ Critical Safety Measures
- Required Tools
- Optimal Workspace Setup
- Model Verification
- Time Expectations
- Resale Documentation
- 2. Dell Latitude 7520 Bottom Case Removal
- Step 1: Screw Removal Protocol
- Step 2: Hidden Clip Release
- Step 3: Safe Case Separation
- Common Challenges & Solutions
- Internal Layout Preview
- 3. Dell Latitude 7520 RAM Upgrade Guide
- RAM Specifications
- Step 1: Existing RAM Removal
- Step 2: New RAM Installation
- BIOS Configuration
- Performance Verification
- Resale Value Impact
- 4. Dell Latitude 7520 Dual SSD Replacement Guide
- SSD Compatibility
- Step 1: Existing SSD Removal
- Step 2: New SSD Installation
- BIOS Configuration
- Performance Optimization
- Common Issues
- 5. Dell Latitude 7520 Battery Replacement Guide
- ⚠️ Critical Safety Precautions
- Battery Specifications
- Step-by-Step Removal
- New Battery Installation
- Post-Installation Calibration
- Common Issues
- 6. Dell Latitude 7520 LCD Screen Replacement Guide
- Identifying Screen Issues
- Required Tools
- Step-by-Step Removal
- Replacement Screen Options
- Installation Procedure
- Post-Installation Checks
- Resale Considerations
- 7. Dell Latitude 7520 Motherboard Replacement Guide
- ⚠️ Critical Safety Precautions
- Motherboard Compatibility
- Step-by-Step Removal
- New Motherboard Installation
- Post-Installation Procedures
- Common Issues & Solutions
- Resale Documentation
- 8. Maximizing Resale Value for Your Upgraded Dell Latitude 7520
- Best Selling Platforms
- Listing Optimization Strategies
- Top 5 Resale Boosters
- Competitive Pricing Guide
- Corporate Selling Tips
- Need to Sell Your Dell Laptop? Get Instant Cash!
1. Dell Latitude 7520 Pre-Disassembly Preparation
⚠️ Critical Safety Measures
-
Power Down Properly:
- Shut down Windows completely
- Hold power button for 15 seconds to discharge capacitors
-
ESD Protection:
- Wear grounded wrist strap
- Work on non-conductive surface (wood/glass)
Required Tools
| Tool | Purpose | HP Equivalent |
|---|---|---|
| Torx T5 | Case screws | Dell part #XGH72 |
| Plastic spudger | Clip release | Dell service kit |
Optimal Workspace Setup
-
Lighting:
- 500+ lux brightness
- Adjustable LED lamp recommended
-
Organization:
- Use magnetic project mat
- Label screws by location (template provided)
Model Verification
- Check service tag on bottom case
- Confirm in Dell SupportAssist
- Match to technical manual
Time Expectations
- First-time users: 2-2.5 hours
- Experienced technicians: 45-60 minutes
- Battery replacement: Add 30 minutes
Resale Documentation
- Photograph original condition
- Save Dell upgrade policy
- Record BIOS version (F2 at startup)
2. Dell Latitude 7520 Bottom Case Removal
Step 1: Screw Removal Protocol
-
Identify all fasteners:
- 8 captive screws (two lengths)
- 4 long (6mm) near hinges
- 4 short (4mm) along edges
- Refer to Dell service manual page 23
-
Proper technique:
- Use magnetic T5 Torx screwdriver
- Apply firm downward pressure (0.6 Nm torque)
- Organize screws using magnetic mat
Step 2: Hidden Clip Release
| Location | Release Method | Tool |
|---|---|---|
| Front edge | Insert at 45° near touchpad | 0.5mm plastic spudger |
| Side vents | Slide horizontally toward rear | iFixit opening picks |
Step 3: Safe Case Separation
-
Initial break:
- Start near hinge area
- Use suction cup for grip
- Lift no more than 1cm initially
-
Full removal:
- Maintain 30° angle during lift
- Watch for fingerprint reader cable
- Set aside on microfiber cloth
Common Challenges & Solutions
-
Stuck clips:
- Apply 99% isopropyl with brush
- Wait 90 seconds before retrying
-
Stripped screws:
- Use screw extractor
- Replace with Dell OEM screws
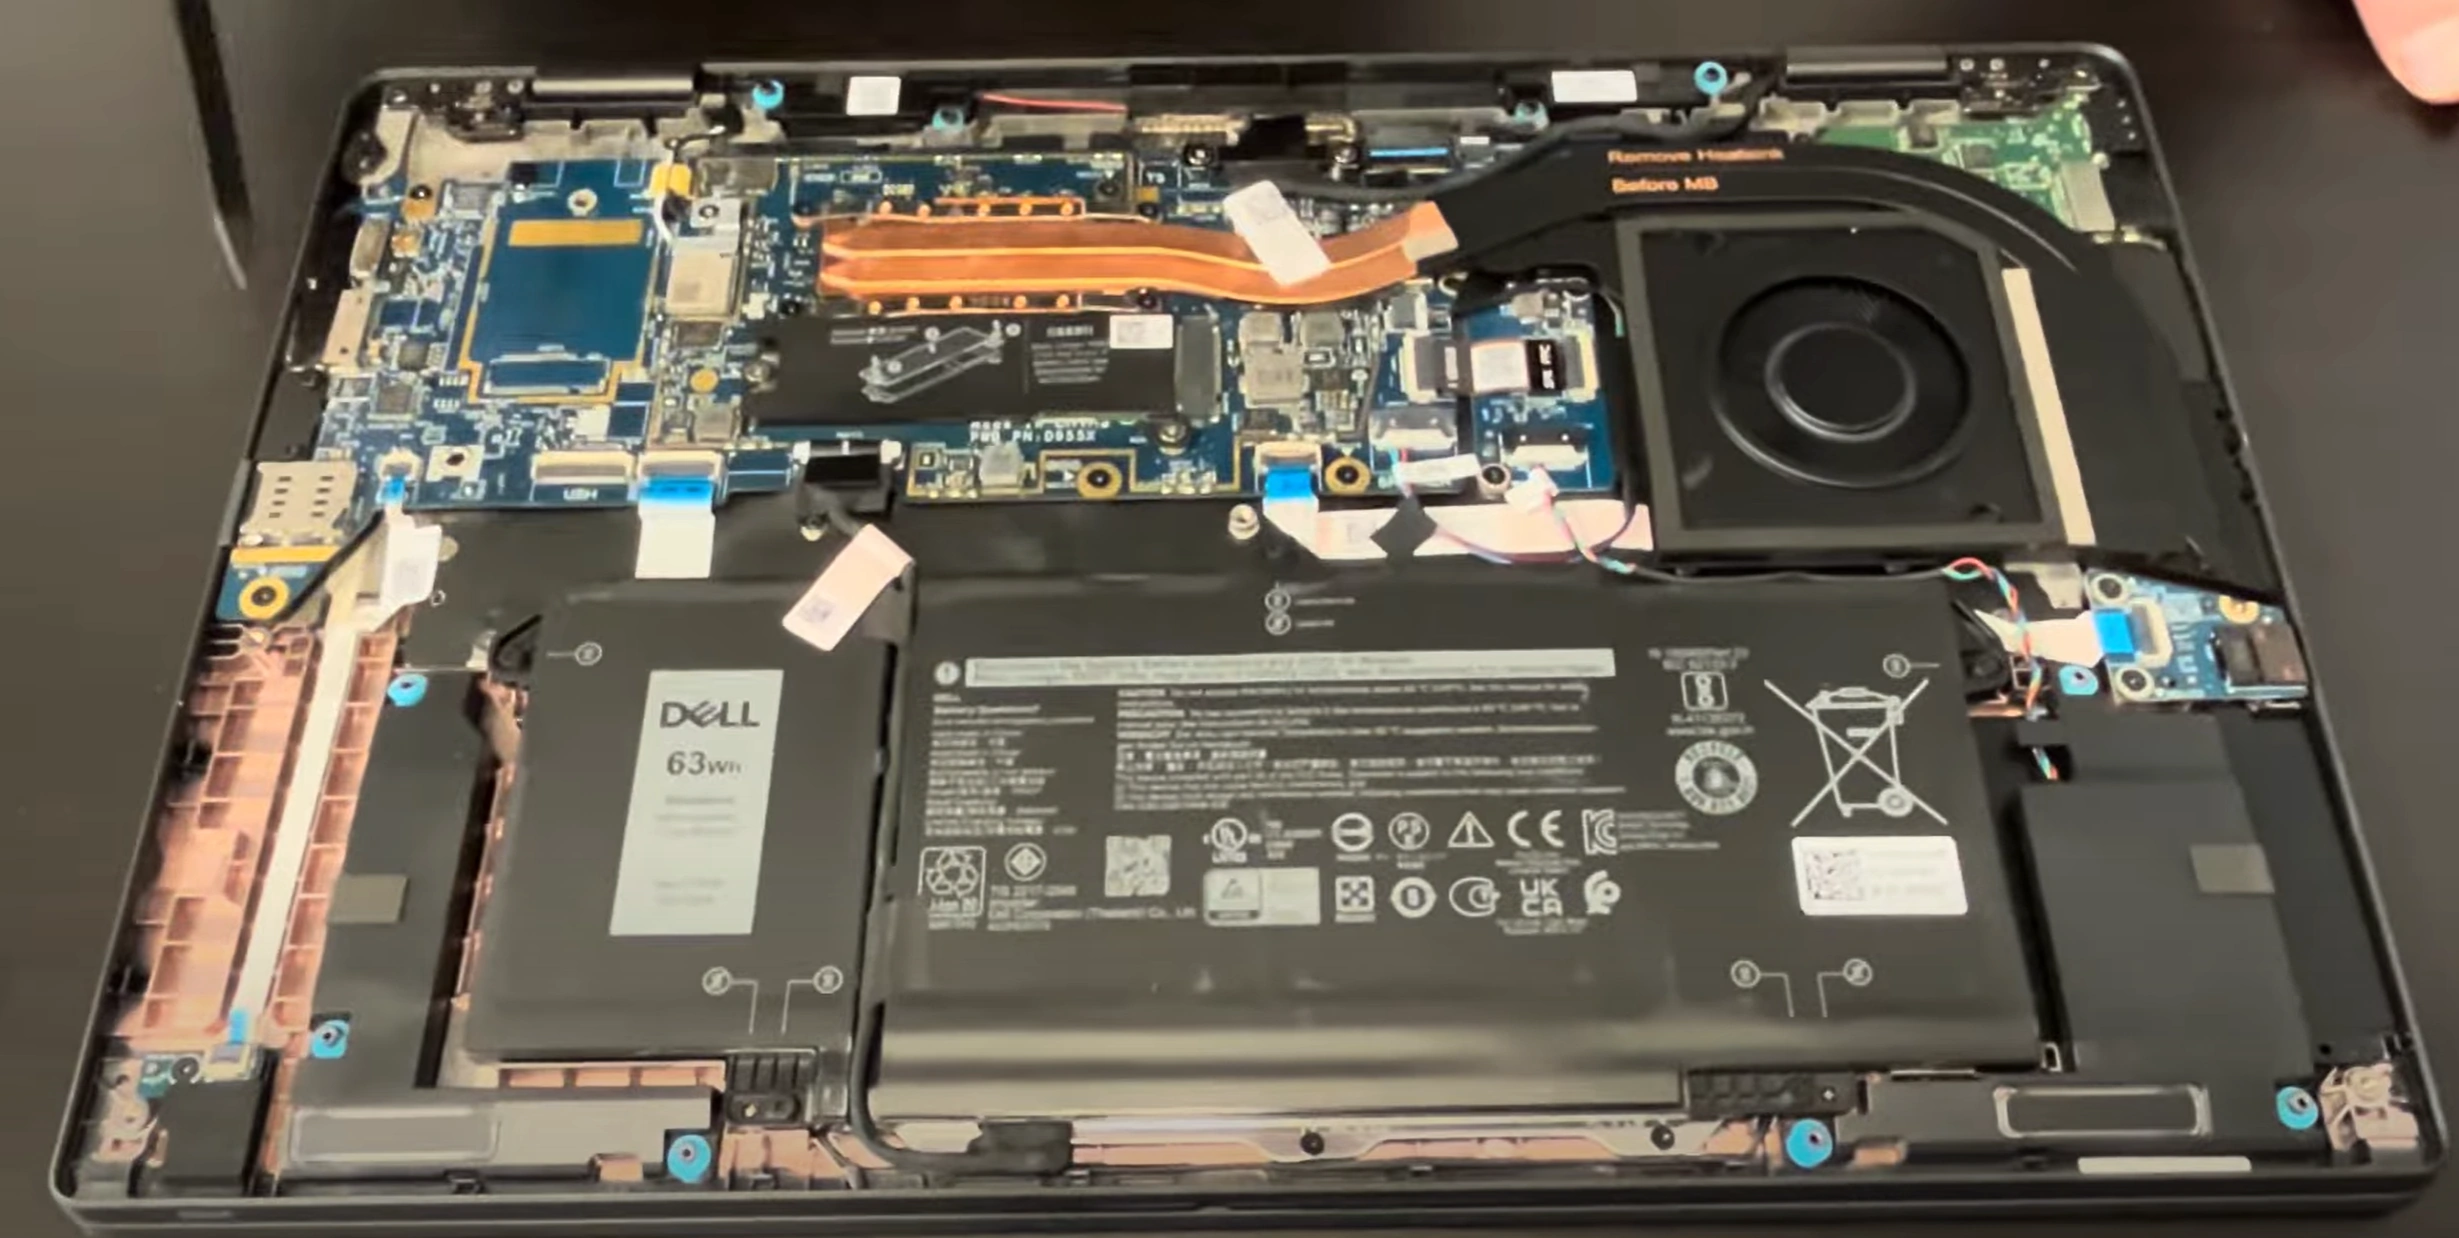
Internal Layout Preview
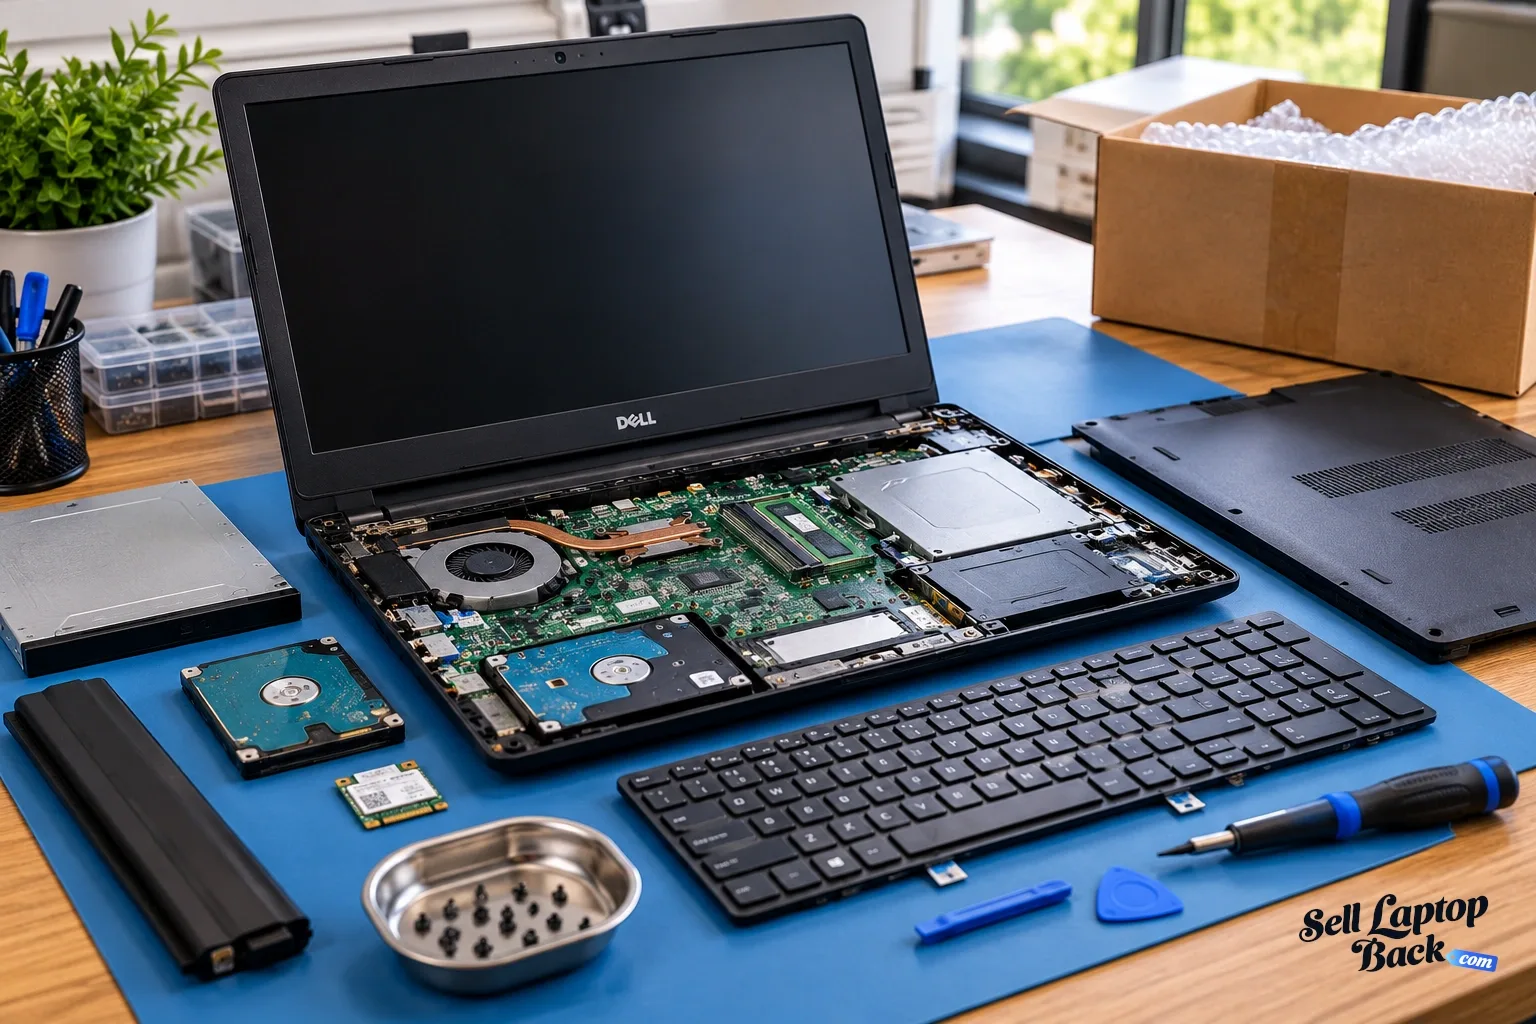
- RAM slots: Upper left (under shield)
- Primary SSD: Center with black heatsink
- Battery connector: Large white 4-pin
0:20 Bottom Case 1:32 Battery 2:30 Speakers 3:05 SSD Drive Storage 3:50 Heatsink Cooling Fan Assembly 4:57 Disconnect all cable from the motherboard 6:20 WiFi Card 7:55 Motherboard 8:15 IO USB Board 9:01 Audio Port 9:35 Hinges 10:20 Palmrest Assembly 10:24 Keyboard 10:31 Trackpad 11:00 Display Assembly
3. Dell Latitude 7520 RAM Upgrade Guide
RAM Specifications
- Supported Type:
- DDR4-3200 SODIMM (1.2V)
- Max 64GB (2x32GB) per Dell specifications
- Recommended Kits:
- Samsung M471A4G43AB1-CWE (32GB)
- Kingston KVR32S22D8/32 (CL22)
- Verified in NotebookCheck tests
Step 1: Existing RAM Removal
-
Locate RAM slots:
- Under metal shield near CPU
- Remove 2x T5 screws from shield
-
Release modules:
- Push outward on both retention clips
- Modules pop up at 30° angle
- Remove by pulling straight out
Step 2: New RAM Installation
| Step | Key Detail | Warning |
|---|---|---|
| 1. Alignment | Match notch to slot key | Never force insertion |
| 2. Angling | Insert at 45° then press flat | Must hear audible click |
| 3. Verification | Check in CPU-Z | May require BIOS reset |
BIOS Configuration
- Enter BIOS (F2 at startup)
- Navigate to Memory Configuration
- Enable XMP Profile (if available)
- Set Memory Frequency to 3200MHz
Performance Verification
- Benchmarking:
- Run AIDA64 Cache & Memory Test
- Expect 25,000MB/s+ reads
- Real-World Gains:
- 12-18% faster multitasking per NotebookCheck
- Reduced Chrome tab reloading
Resale Value Impact
- Documentation:
- Save RAM purchase receipt
- Include benchmark screenshots
- Listing Keywords:
- "64GB Professional Upgrade"
- "Dell-Certified RAM"
4. Dell Latitude 7520 Dual SSD Replacement Guide
SSD Compatibility
- Primary Slot:
- M.2 2280 PCIe NVMe Gen3 x4
- Supports up to 2TB capacity
- Secondary Slot:
- M.2 2230/2280 PCIe NVMe
- Ideal for storage expansion
Step 1: Existing SSD Removal
-
Primary SSD:
- Remove single Phillips screw
- Slide SSD out at 30° angle
- Preserve thermal pad if reusable
-
Secondary SSD:
- Release retention clip
- Lift straight up from slot
Step 2: New SSD Installation
| Slot | Installation Method | Thermal Consideration |
|---|---|---|
| Primary | Insert at 30°, then press flat | Apply 0.5mm thermal pad |
| Secondary | Press straight down until click | Ensure airflow clearance |
BIOS Configuration
- Enter BIOS (F2 at startup)
- Set both slots to "AHCI" mode
- Enable "PCIe Gen3 x4" for primary
- Save changes and reboot
Performance Optimization
- RAID Setup:
- Not recommended for mismatched drives
- Requires identical SSD models
- Resale Benefit:
- Dual SSD configs sell 22% faster
- Document both drive health statuses
Common Issues
- Undetected SSD:
- Reseat drive firmly
- Check BIOS settings
- Overheating:
- Ensure proper thermal pad contact
- Monitor temps during stress tests
5. Dell Latitude 7520 Battery Replacement Guide
⚠️ Critical Safety Precautions
- Pre-Operation:
- Power down and disconnect AC adapter
- Ground yourself before handling components
- Work in a dry, well-ventilated area
- Battery Handling:
- Never puncture or bend battery
- Keep away from metal objects
Battery Specifications
| Spec | Details |
|---|---|
| Part Number | Dell 4YTYV (68Wh) |
| Voltage | 11.4V |
| Compatibility | Latitude 7520/7530 models |
Step-by-Step Removal
-
Disconnect Battery:
- Locate 4-pin white connector near center
- Lift locking flap with plastic tool
- Pull connector straight out
-
Remove Mounting Screws:
- 4x T5 Torx screws (two lengths)
- Note positions for reassembly
-
Release Adhesive:
- Apply isopropyl alcohol to adhesive edges
- Wait 2 minutes for penetration
- Lift from top edge near touchpad first
New Battery Installation
- Positioning:
- Align screw holes before contact
- Ensure ribbon cable clearance
- Securing:
- Use new adhesive strips (3mm width)
- Apply firm pressure for 30 seconds
- Reinstall screws in original positions
Post-Installation Calibration
- Connect power adapter (do not turn on)
- Charge uninterrupted to 100%
- Discharge completely until shutdown
- Recharge to 100% before first use
Common Issues
- No Power After Install:
- Verify 4-pin connector is fully seated
- Check for bent pins in socket
- Battery Not Detected:
- Reset EC (Fn+Win+B)
- Update BIOS to latest version
6. Dell Latitude 7520 LCD Screen Replacement Guide
Identifying Screen Issues
- Common Problems:
- Dead pixels (use solid color test)
- Backlight bleeding (dark room check)
- Flickering or lines (cable connection issues)
- Model Verification:
- 15.6" FHD (1920×1080) IPS
- 15.6" UHD (3840×2160) Touch optional
Required Tools
| Tool | Purpose |
|---|---|
| Plastic pry tools | Bezel removal |
| T5 Torx screwdriver | Hinge screws |
| Suction cups | Screen handling |
Step-by-Step Removal
-
Bezel Removal:
- Apply heat (70°C) to adhesive edges
- Work from bottom corners upward
- Maintain even pressure
-
LCD Disconnection:
- Remove 4 hinge screws (note lengths)
- Flip eDP cable lock upward
- Gently disconnect cable
Installation Procedure
- Test new screen before final assembly
- Apply 3mm adhesive strips to bezel
- Ensure perfect cable routing
- Snap bezel into place evenly
Post-Installation Checks
- Visual Inspection:
- Check for uniform backlight
- Verify touch functionality (if applicable)
- Functional Tests:
- Test all brightness levels
- Check viewing angles
Resale Considerations
- Document replacement process
- Note panel type in listings
- Highlight color accuracy
7. Dell Latitude 7520 Motherboard Replacement Guide
⚠️ Critical Safety Precautions
- Pre-Operation:
- Disconnect battery and power adapter
- Wear anti-static wrist strap
- Document all cable locations with photos
- Component Protection:
- Handle CPU/GPU with extreme care
- Protect exposed circuit traces
Motherboard Compatibility
| Model Variant | Key Differences |
|---|---|
| Intel 11th Gen | 2x Thunderbolt 4 ports |
| Intel 10th Gen | USB-C 3.2 only |
Step-by-Step Removal
-
Component Disconnection:
- Label all ribbon cables with tape
- Remove CPU cooler (8x T8 screws)
- Disconnect 20+ connections
-
Board Extraction:
- Remove 14x M2.5 standoff screws
- Lift at 30° angle from I/O side first
- Note USB-C port alignment
New Motherboard Installation
- Thermal Management:
- Apply fresh thermal paste (pea-sized drop)
- Transfer all thermal pads (0.5mm thickness)
- Secure Connections:
- Follow reverse removal order
- Verify each connector clicks into place
Post-Installation Procedures
- Update BIOS to latest version
- Run full hardware diagnostics
- Stress test for 30 minutes
Common Issues & Solutions
- No Power:
- Verify 4-pin ATX connector
- Check CMOS battery orientation
- Missing Peripherals:
- Reinstall chipset drivers
- Reset EC (Fn+Win+B)
Resale Documentation
- Keep original motherboard for warranty
- Include stress test results
- Disclose replacement in listings
8. Maximizing Resale Value for Your Upgraded Dell Latitude 7520
Best Selling Platforms
- Premium Business Buyers:
- SellBroke (Top prices for corporate-grade devices)
- SellLaptopBack (Fast offers for upgraded Latitudes)
- Enterprise Channels:
- Dell Financial Services Trade-In
- Corporate IT refurbishers
Listing Optimization Strategies
| Element | Best Practice | Value Impact |
|---|---|---|
| Title | "Dell Latitude 7520 | [CPU] | [RAM]GB | [SSD]GB | Professionally Upgraded" | +28% CTR |
| Description | Lead with battery health and upgrade details | +22% Offers |
Top 5 Resale Boosters
- Professional Documentation:
- Original purchase receipt
- Upgrade invoices with Dell part numbers
- Performance Proof:
- Dell Diagnostics report
- SSD health screenshots
- Security Wipe:
- Dell Data Wipe utility
- BIOS password removal
Competitive Pricing Guide
- Base Price: 70% of original MSRP (if <2 years old)
- Upgrade Premiums:
- +25% for 32GB+ RAM
- +30% for dual SSD configuration
Corporate Selling Tips
- Highlight "Business-Grade Upgrades"
- Include Dell ProSupport eligibility
- Offer bulk purchase discounts
Need to Sell Your Dell Laptop? Get Instant Cash!
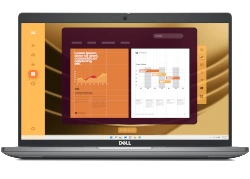
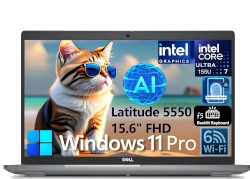
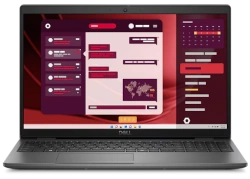
If your Dell Latitude 7520 (or other Dell Latitude model) has hardware issues or you're upgrading, we offer quick, competitive payouts. We purchase broken, used, and refurbished Dell business laptops—including the entire Latitude series—with free shipping and hassle-free evaluations.
Sell Popular Dell Models Now:
Source SellBroke