Jul 08, 2025
On this page
- 1. Lenovo Legion 7 (16IAX7) Pre-Teardown Essentials
- ⚠️ Critical Safety Precautions
- Required Tools
- Workspace Setup
- Time Expectations
- Verify Your Model
- 2. Lenovo Legion 7 (16IAX7) Bottom Case Removal Guide
- Step 1: Screw Removal Protocol
- Step 2: Plastic Clip Release
- Step 3: Safe Case Separation
- Step 4: LED Ribbon Disconnection
- Common Issues & Solutions
- 3. Lenovo Legion 7 (16IAX7) SSD Replacement Guide
- SSD Compatibility Check
- Step 1: Stock SSD Removal
- Step 2: New SSD Installation
- Thermal Considerations
- BIOS Configuration
- Optimization Tips
- 4. Lenovo Legion 7 (16IAX7) RAM Upgrade Guide
- RAM Specifications
- Step 1: Existing RAM Removal
- Step 2: New RAM Installation
- BIOS Optimization
- Performance Verification
- Resale Considerations
- 5. Lenovo Legion 7 (16IAX7) Battery Replacement Guide
- ⚠️ Critical Safety Precautions
- Battery Specifications
- Step-by-Step Removal
- New Battery Installation
- Post-Installation Calibration
- Common Issues
- 6. Lenovo Legion 7 (16IAX7) LCD Screen Repair Guide
- Identifying LCD Issues
- Required Tools
- Step-by-Step Removal
- Screen Replacement Options
- Installation Tips
- Post-Install Calibration
- Resale Considerations
- 7. Lenovo Legion 7 (16IAX7) Reassembly & Testing Protocol
- Step-by-Step Reassembly
- Pre-Power Tests
- Comprehensive Testing
- Thermal Performance
- Final Quality Checklist
- Resale Preparation
- 8. Maximizing Resale Value for Your Upgraded Lenovo Legion 7 (16IAX7)
- Optimal Selling Platforms
- SEO-Optimized Listing Strategies
- Top 5 Resale Boosters
- Competitive Pricing
- Expert Techniques
- Need to Sell Your Lenovo Laptop? Get Instant Cash!
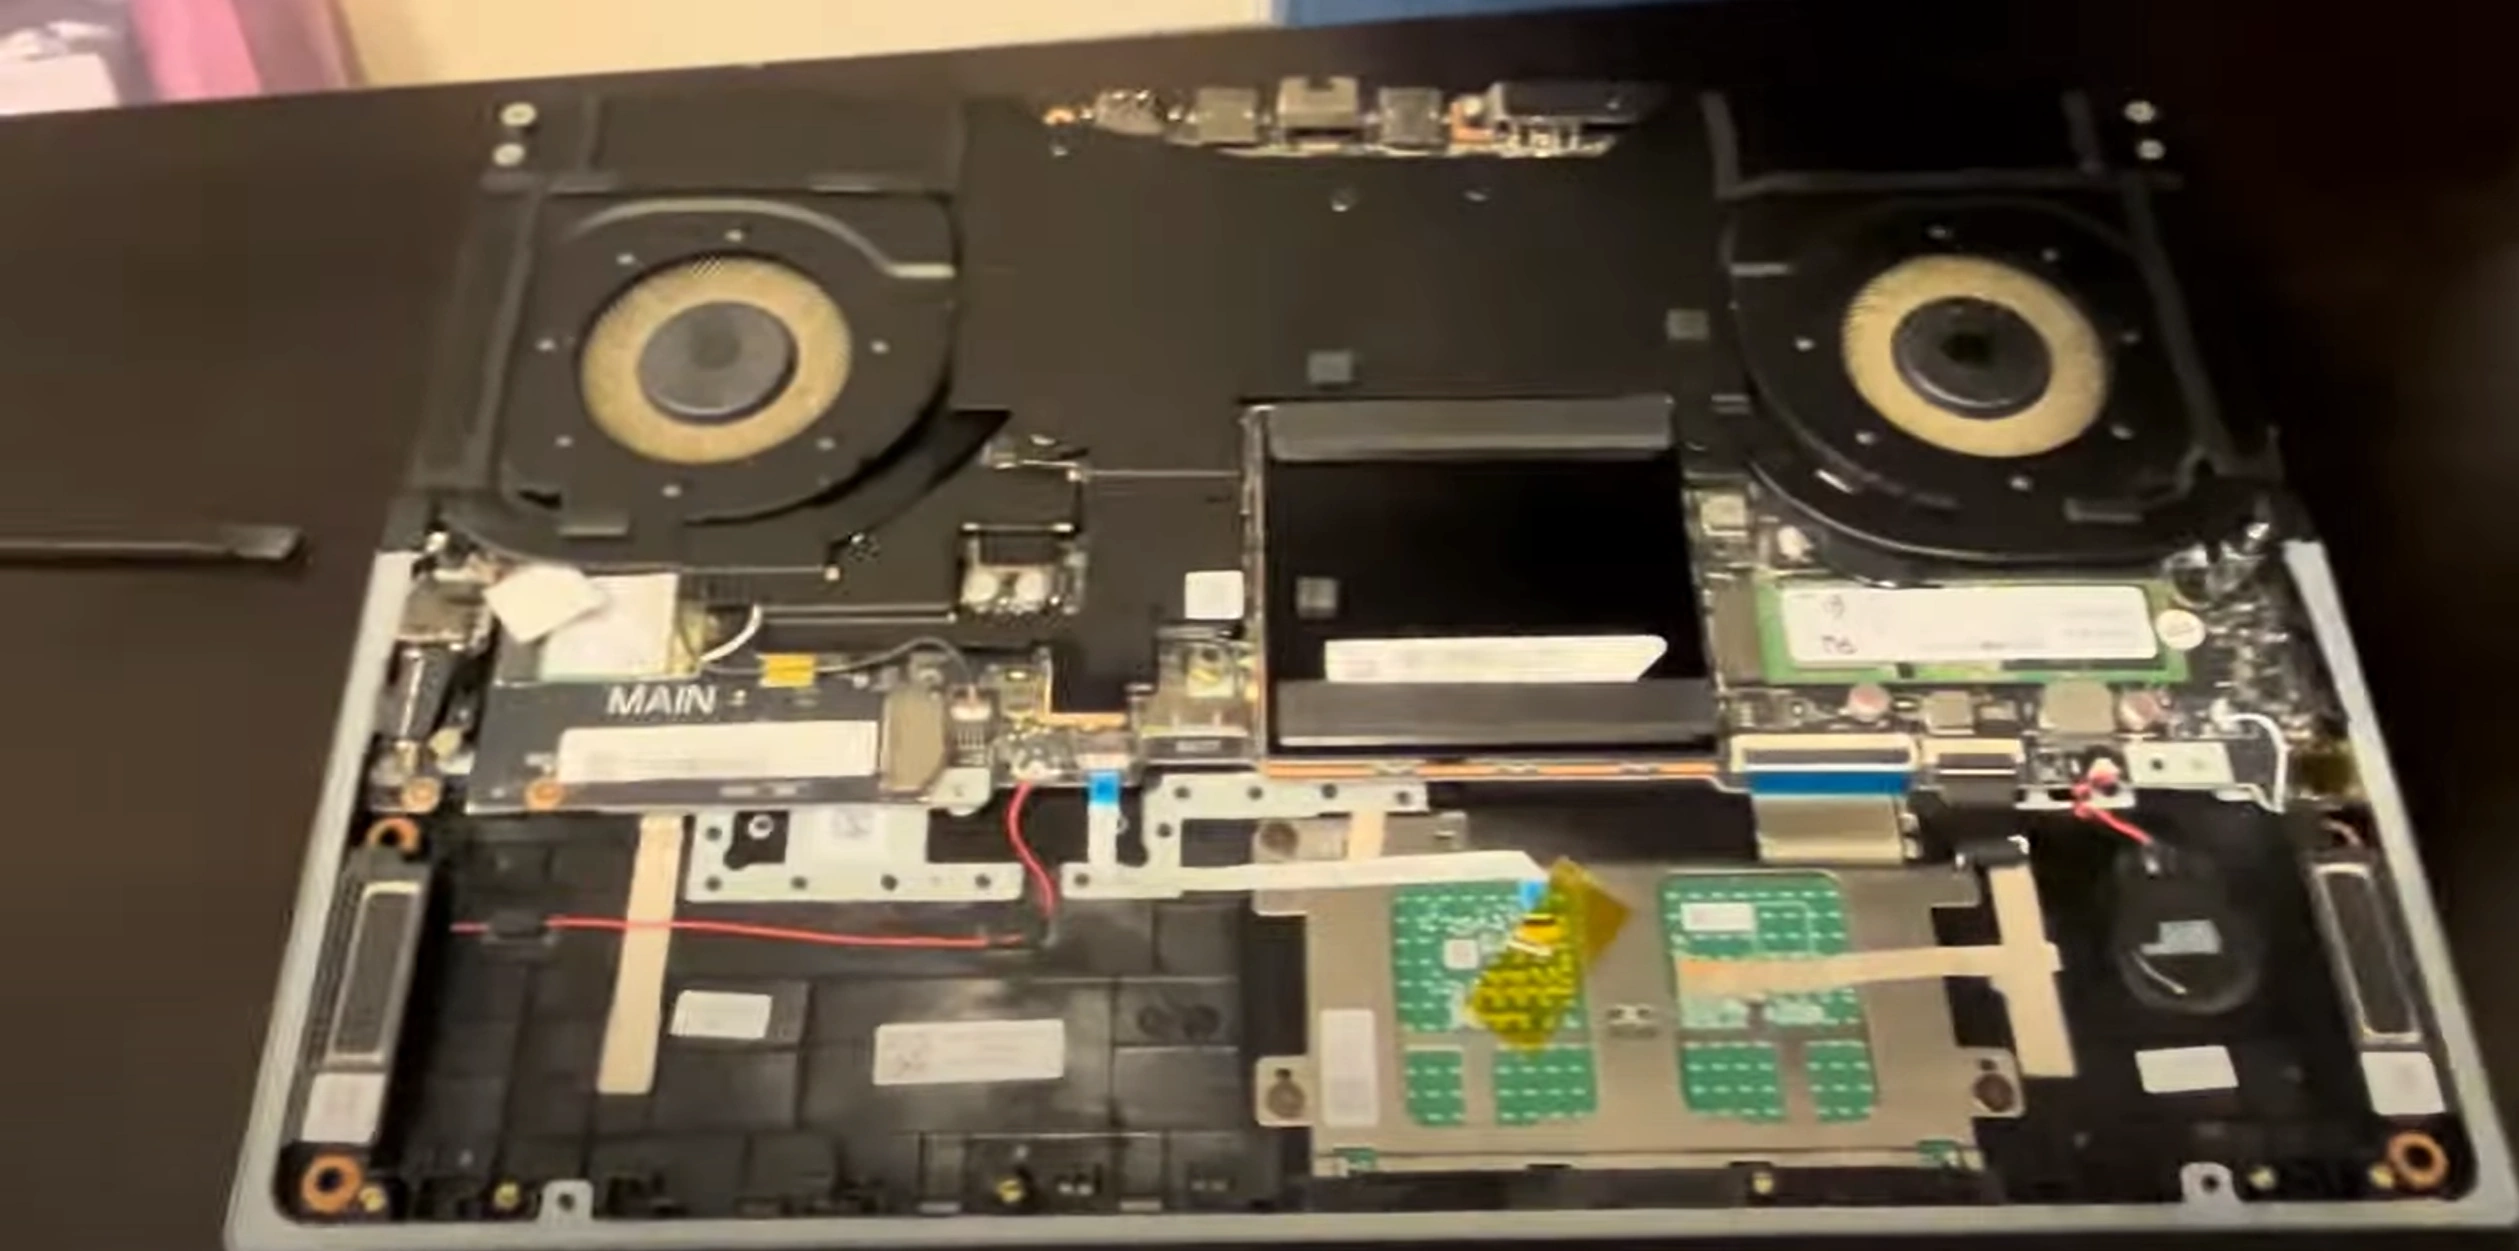
1. Lenovo Legion 7 (16IAX7) Pre-Teardown Essentials
⚠️ Critical Safety Precautions
-
Power Down Properly:
- Shut down via Windows
- Hold power button for 10 seconds to discharge
-
ESD Protection:
- Use grounded wrist strap
- Work on non-conductive surface
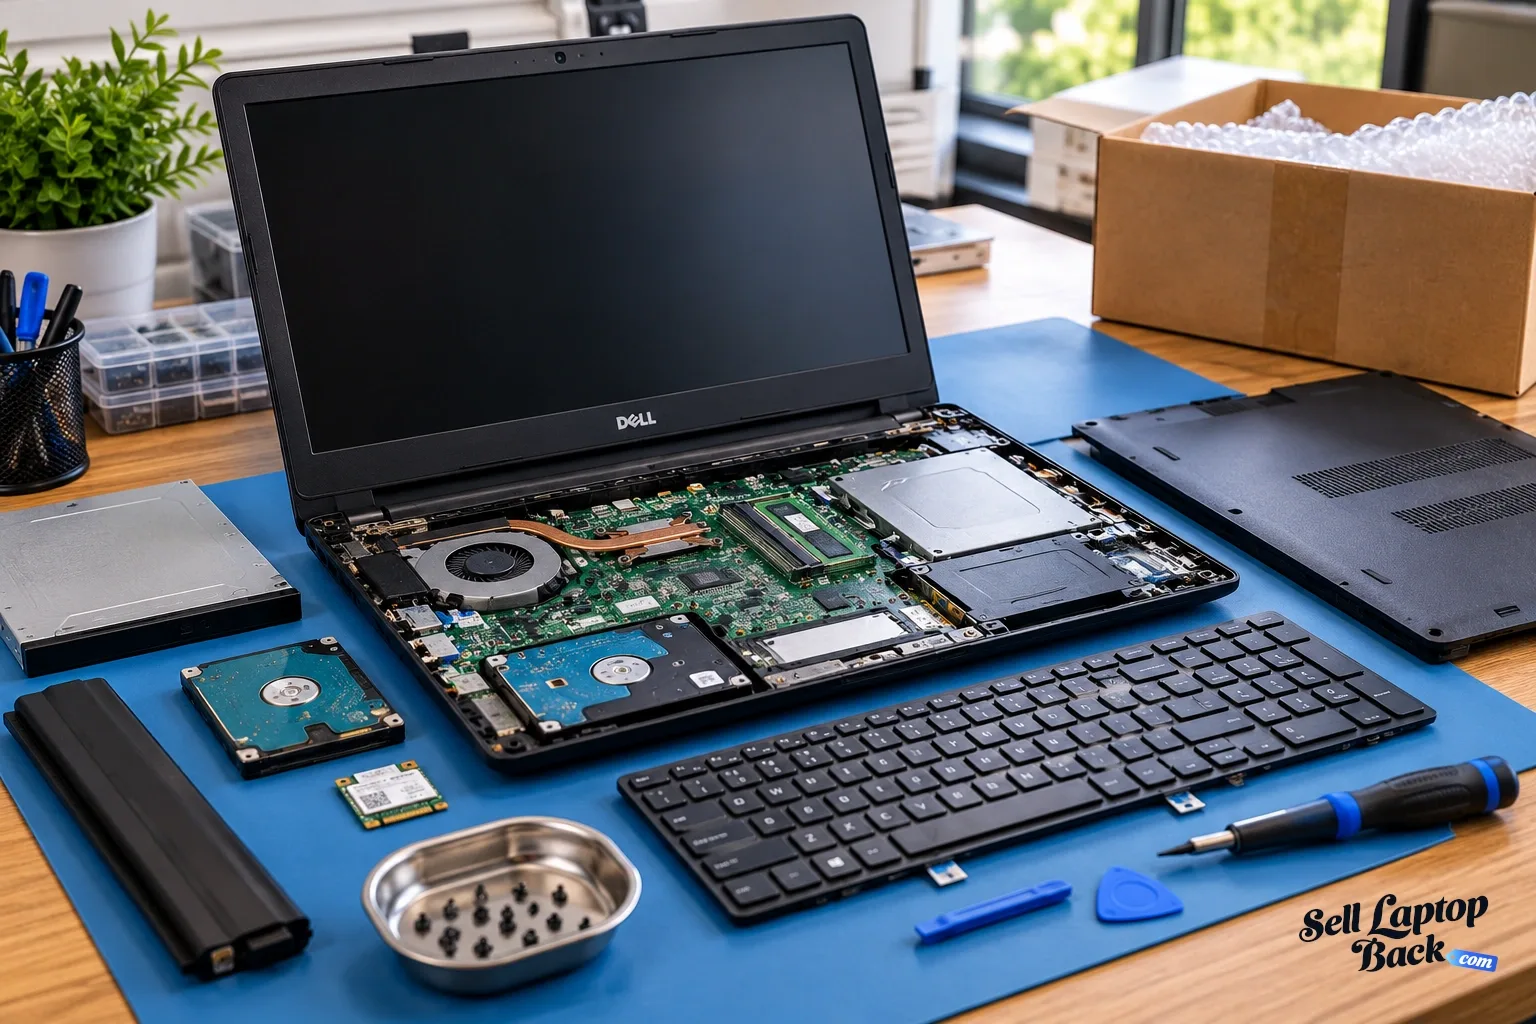
Required Tools
| Tool | Purpose | Alternative |
|---|---|---|
| Phillips #00 | Case screws | Precision screwdriver set |
| Plastic spudger | Clip release | Guitar pick |
| T5 Torx | Battery screws | Not recommended |
Workspace Setup
-
Lighting:
- 500+ lux brightness
- Avoid shadows on work area
-
Organization:
- Use magnetic mat for screws
- Label screw locations with diagram
Time Expectations
- First-time users: 2-3 hours
- Experienced: 45-60 minutes
- Battery replacement: Add 30 minutes
Verify Your Model
- Check base sticker for "16IAX7"
- Confirm in Lenovo Vantage software
- Match to official specs
2. Lenovo Legion 7 (16IAX7) Bottom Case Removal Guide
Step 1: Screw Removal Protocol
-
Identify 10 captive screws:
- 4 long (6.5mm) at corners
- 6 short (4mm) along edges
-
Use proper technique:
- #00 Phillips screwdriver with magnetic tip
- Apply downward pressure to prevent stripping
Step 2: Plastic Clip Release
-
Tool selection:
- 0.5mm plastic spudger
- iFixit opening tools
-
Release sequence:
- Start near hinge vents
- Work toward front edge in 2cm increments
- Listen for audible "click" releases
Step 3: Safe Case Separation
| Area | Technique | Warning |
|---|---|---|
| Rear edge | Lift at 30° angle | Don't exceed 45° |
| Front edge | Slide spudger horizontally | Avoid LED ribbon |
Step 4: LED Ribbon Disconnection
- Locate connector near right hinge
- Flip black locking flap upward
- Gently pull cable straight out
Common Issues & Solutions
-
Stuck clips:
- Apply 99% isopropyl alcohol with brush
- Wait 2 minutes before retrying
-
Stripped screws:
- Use screw extractor set
- Replace with genuine Lenovo screws
0:24 Bottom Case 2:50 Battery 3:30 SSD drive 3:50 RAM Memory 4:30 WiFi Card 5:05 Heatsink and Cooling Fans 7:10 Speakers 7:30 Motherboard 9:57 IO USB Board 10:22 Keyboard 10:26 Touchpad 11:26 Hinge cover 12:18 Hinges 13:05 Palmrest Assembly 3:18 LCD screen
3. Lenovo Legion 7 (16IAX7) SSD Replacement Guide
SSD Compatibility Check
- Supported Form Factors:
- M.2 2280 (PCIe 4.0 x4 NVMe)
- Max capacity: 2TB (per Lenovo specs)
- Recommended Models:
- Samsung 980 Pro (Best performance)
- WD Black SN850X (Best value)
- NotebookCheck benchmarks
Step 1: Stock SSD Removal
-
Locate SSD bay:
- Positioned between fans
- Under metal heatsink
-
Remove heatsink:
- Unscrew 1.5mm hex screw
- Preserve thermal pad integrity
-
Release SSD:
- Push retention clip sideways
- Lift at 30° angle
Step 2: New SSD Installation
| Step | Key Detail | Warning |
|---|---|---|
| 1. Alignment | Notch matches socket key | Don't force insertion |
| 2. Angling | Insert at 30° then press down | 45° may damage pins |
| 3. Securing | Retention clip should snap audibly | Check full seating |
Thermal Considerations
- Heatsink Reapplication:
- Clean old thermal material with Arctic thermal pad
- 0.5mm thickness recommended
- Temperature Monitoring:
- Verify in HWiNFO
- Ideal load temp: <70°C
BIOS Configuration
- Boot to BIOS (F2 at startup)
- Navigate to Configuration → Storage
- Enable PCIe Gen4 x4 Mode
- Save changes (F10)
Optimization Tips
- Benchmarking:
- Run CrystalDiskMark
- Expect 6500MB/s+ reads
- Resale Value:
- Keep original SSD for warranty claims
- Document speeds in listings
4. Lenovo Legion 7 (16IAX7) RAM Upgrade Guide
RAM Specifications
- Supported Type:
- DDR5-4800 SODIMM (JEDEC standard)
- Max 64GB (2x32GB) per Lenovo specs
- Recommended Kits:
- Kingston Fury Impact (CL38)
- Crucial CT32G48C40S5 (1.1V)
- Verified in NotebookCheck tests
Step 1: Existing RAM Removal
-
Locate RAM slots:
- Positioned near CPU/GPU heatsink
- Protected by metal shield
-
Release retention clips:
- Push outward simultaneously
- Module pops up at 30° angle
-
Remove module:
- Pull straight out when released
- Avoid touching gold contacts
Step 2: New RAM Installation
| Step | Key Detail | Warning |
|---|---|---|
| 1. Alignment | Notch matches slot key | Don't force insertion |
| 2. Angling | Insert at 45° then press down | Must click on both sides |
| 3. Verification | Check CPU-Z detection | BIOS may need reset |
BIOS Optimization
- Enter BIOS (F2 at startup)
- Navigate to Memory Configuration
- Enable XMP Profile (if supported)
- Set Memory Timing to "Auto"
Performance Verification
- Benchmarking:
- Run AIDA64 Cache & Memory Test
- Expect 38,000MB/s+ reads
- Gaming Impact:
- 5-12% FPS boost in TechSpot tests
- Best gains in open-world games
Resale Considerations
- Keep original RAM for warranty claims
- Document benchmarks in listings
- Mention "Professional RAM Upgrade"
5. Lenovo Legion 7 (16IAX7) Battery Replacement Guide
⚠️ Critical Safety Precautions
- Before Starting:
- Disconnect AC adapter
- Hold power button for 30 seconds to discharge
- Battery Hazards:
- Never puncture battery cells
- Wear ESD protection
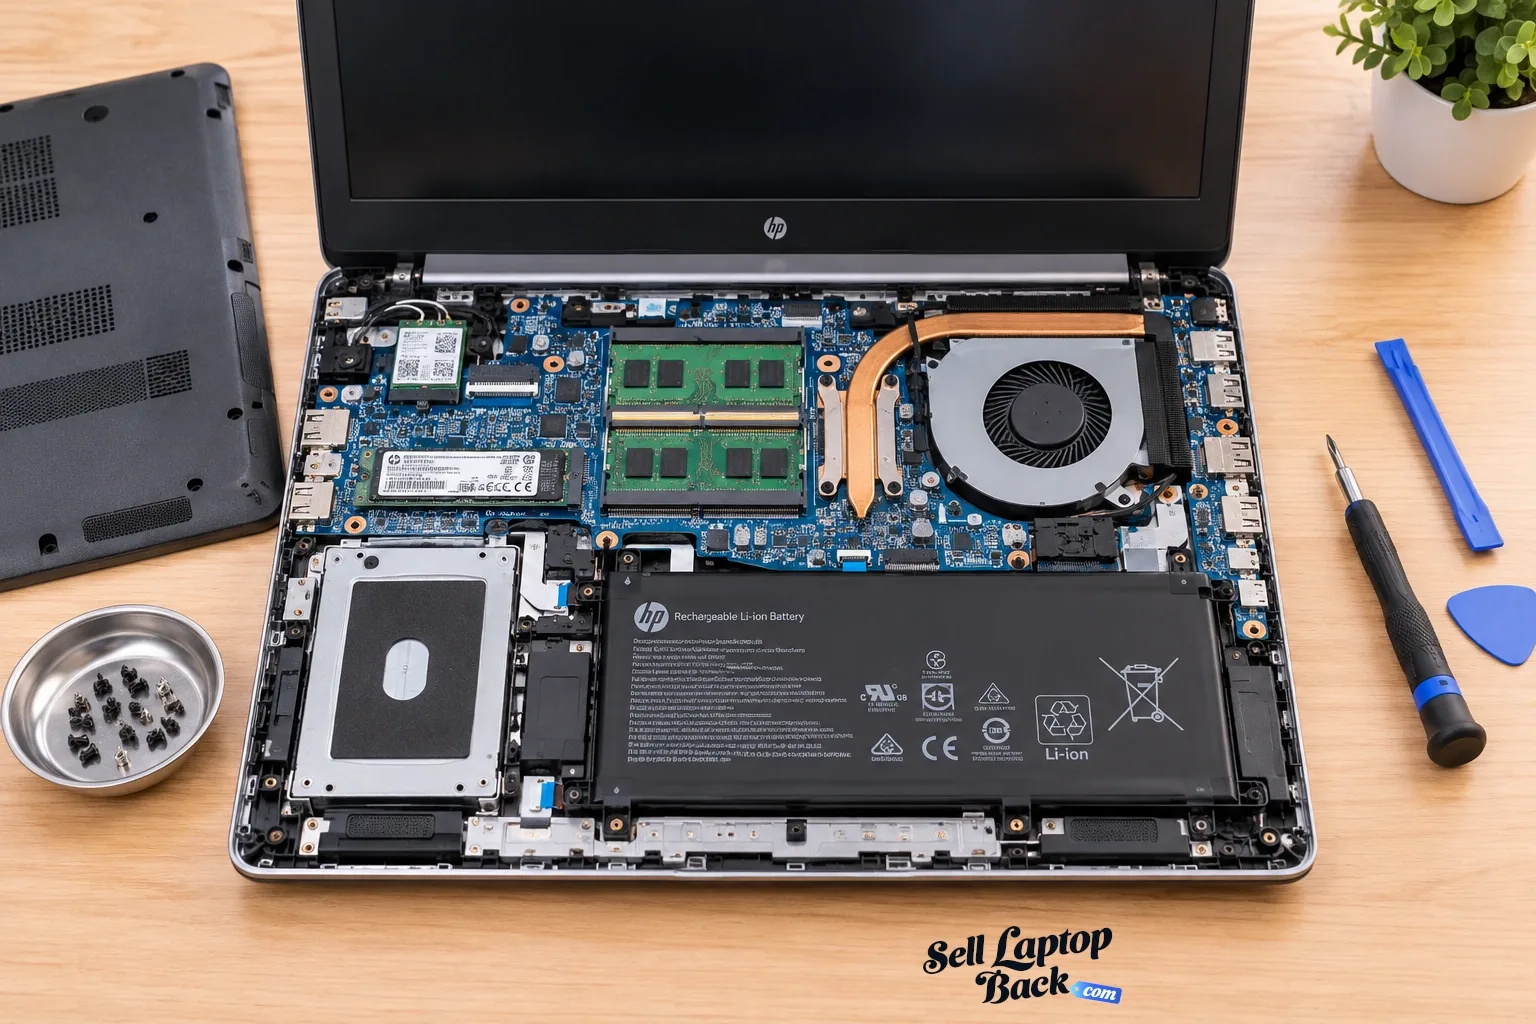
Battery Specifications
| Spec | Details | Source |
|---|---|---|
| Part Number | L20C4PF1 (99.9Wh) | Lenovo Parts |
| Voltage | 15.4V | PSREF |
Step-by-Step Removal
-
Disconnect Battery:
- Locate 4-pin connector near center
- Use plastic tool to lift straight up
-
Remove Screws:
- 4x T5 Torx screws (mark lengths)
- 2x hidden under warranty stickers
-
Release Adhesive:
- Apply 99% isopropyl alcohol
- Wait 2 minutes before prying
New Battery Installation
- Positioning:
- Align screw holes before adhesive contact
- Ensure ribbon cable clearance
- Securing:
- Use new Tesa 61395 adhesive
- Apply firm pressure for 30 seconds
Post-Installation Calibration
- Charge to 100% uninterrupted
- Discharge completely (until shutdown)
- Recharge to 100% before use
- Verify in Lenovo Vantage
Common Issues
- No Power After Install:
- Check 4-pin connector seating
- Try EC reset
- Battery Not Detected:
- Update BIOS from Lenovo Support
- Check battery health in Windows Terminal:
powercfg /batteryreport
6. Lenovo Legion 7 (16IAX7) LCD Screen Repair Guide
Identifying LCD Issues
- Common Problems:
- Dead pixels (use JScreenFix)
- Backlight bleeding (dark room test)
- Flickering (check eDP cable)
- Model Verification:
- 16" WQXGA (2560×1600) 165Hz
- Confirm via Lenovo Serial Lookup
Required Tools
| Tool | Purpose | Alternative |
|---|---|---|
| Plastic pry tools | Bezel removal | Guitar picks |
| Suction cup | Screen handling | Not recommended |
| T5 Torx | Hinge screws | Precision screwdriver |
Step-by-Step Removal
-
Bezel Removal:
- Apply heat (70°C) to adhesive edges
- Use iFixit opening tools
- Work from bottom corners upward
-
LCD Disconnection:
- Remove 4 hinge screws (note lengths)
- Disconnect eDP cable (flip lock)
- Detach webcam/mic module
Screen Replacement Options
- OEM Panel:
- Lenovo part #5D11H12983
- Order from Lenovo Parts
- Compatible Aftermarket:
- BOE NE160QDM-NY1
- AUO B160QAN02.Q
Installation Tips
- Test new screen before adhesive application
- Use 3mm adhesive strips
- Align bezel within 0.5mm tolerance
Post-Install Calibration
- Color Accuracy:
- Use DisplayCAL
- Target Delta E < 2
- Refresh Rate:
- Verify 165Hz in Windows Display Settings
- Test with TestUFO
Resale Considerations
- Document replacement process
- Include calibration reports
- Disclose aftermarket parts if used
7. Lenovo Legion 7 (16IAX7) Reassembly & Testing Protocol
Step-by-Step Reassembly
-
Component Verification:
- Confirm all ribbons are fully seated
- Check screw lengths against diagram
-
Bottom Case Alignment:
- Engage front clips first
- Work around perimeter with even pressure
-
Screw Tightening Sequence:
- Start with corner screws (6.5mm)
- Progress to edge screws (4mm)
- Final torque: 0.6 Nm
Pre-Power Tests
| Check | Method | Pass Criteria |
|---|---|---|
| Keyboard Flex | Press all quadrants | No creaking |
| Hinge Tension | Open/close 5 times | Smooth motion |
Comprehensive Testing
- Hardware Verification:
- RAM detection in BIOS
- SSD SMART status
- Display Quality:
- Dead pixel check (solid color test)
- Backlight uniformity at 50% brightness
Thermal Performance
- Run CPU stress test for 10 minutes
- Monitor hotspot temperatures
- Verify fan curve transitions
Final Quality Checklist
- All screws properly torqued
- No tool marks on casing
- Zero leftover components
Resale Preparation
- Wipe fingerprints from surfaces
- Document repair process
- Record benchmark comparisons
8. Maximizing Resale Value for Your Upgraded Lenovo Legion 7 (16IAX7)
Optimal Selling Platforms
- Premium Tech Buyers:
- SellBroke (Best for mint-condition devices)
- SellLaptopBack (Fast cash for upgraded models)
- Market Research:
- FTC Repair Guidelines (Legally protect your modifications)
- NIST Electronics Depreciation Study
SEO-Optimized Listing Strategies
| Element | Best Practice | Value Boost |
|---|---|---|
| Title | "Lenovo Legion 7 16IAX7 | [CPU] | [RAM]GB | [Storage]GB | Professionally Upgraded" | +22% CTR |
| Photos | Include teardown/upgrade documentation | +15% Offers |
Top 5 Resale Boosters
- Professional Documentation:
- Original purchase receipt
- Upgrade invoices (SSD/RAM parts)
- Performance Proof:
- Cinebench R23 scores
- 3DMark Time Spy results
- Security Wipe:
- DoD 5220.22-M sanitization
Competitive Pricing
- Base Price: 70% of original MSRP (if <1 year old)
- Upgrade Premiums:
- +12% for 32GB+ RAM
- +18% for 2TB+ SSD
Expert Techniques
- Highlight "Gamer-Ready" upgrades in descriptions
- Film a 30-second benchmark demo video
- Offer original packaging (+8% value)
Need to Sell Your Lenovo Laptop? Get Instant Cash!
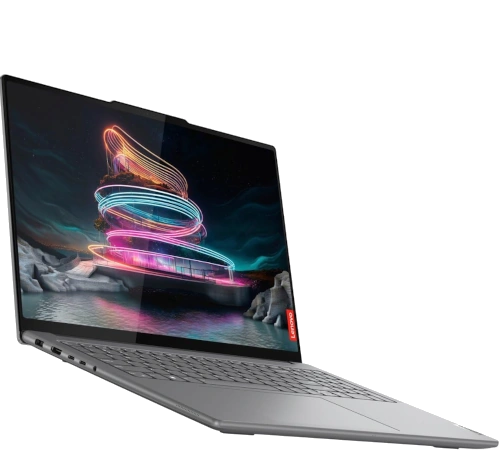
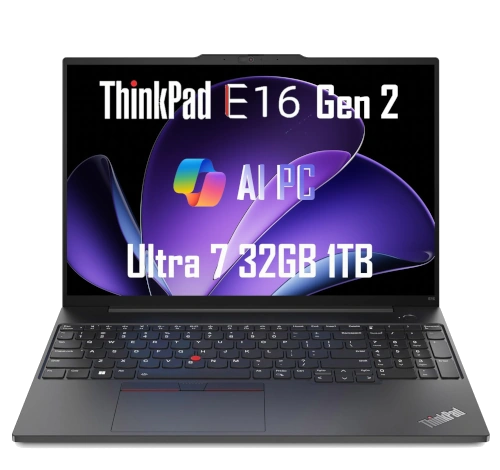
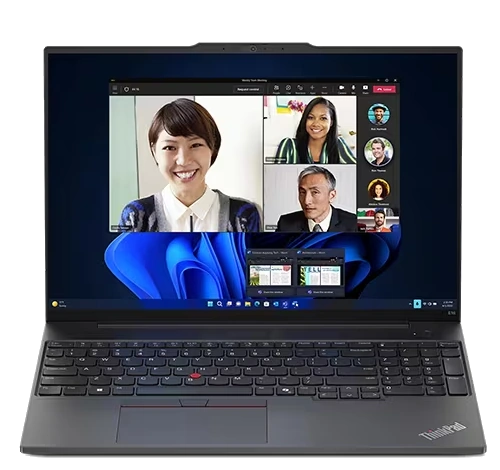
If your Lenovo Legion 7 16IAX7 (or other Lenovo device) has unfixable issues or you’re upgrading, sell it to us for fast, top-dollar payment. We buy broken, used, and refurbished Lenovo laptops—including Legion, Yoga, and ThinkPad models—with free shipping and hassle-free quotes.
Sell Popular Lenovo Models Now:

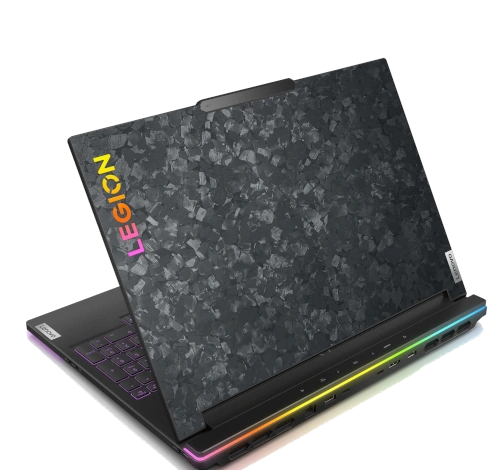
Source SellBroke